Precise and quality baking is everything. For both the novice and experienced baker, getting the right appliances ensures that items go from ordinary to extraordinary. Of the many brands available in the kitchen, KitchenAid stands out as a reliable partner in the kitchen and is widely recognized for its reliable and highly functional equipment. This article gives you some of the crucial suggestions one can have to perfectly bake, using the KitchenAid appliances by mixing technical advice with personal experiences which are always instrumental in guiding him to make delightful baked goods.
Table of Contents
Why the KitchenAid Appliances Are a Baker’s Best Friend
When I started baking for the first time, I would rely on hand mixers and other less complicated basic kitchen tools. I had never known quite how much a decent appliance made things easier until I finally got my very own KitchenAid stand mixer. I will always be thrilled to have opened it and seen how sleekly designed and solidly built it was. Impressed, when I tried it out for the first time in making bread dough, how easily it kneaded the dough, whereas that used to be a task that required much struggle. It was then that I learned the right tools actually help in bringing about perfect results.

The KitchenAid line of appliances is designed with the baker in mind to house multi-functionality, durability, and precision into one powerhouse of an appliance. Be it from the iconic stand mixers, ovens, and every other utensil, it falls under one brand called KitchenAid; even the complicated tasks were reduced to much simpler levels and allowed bakers to express themselves.
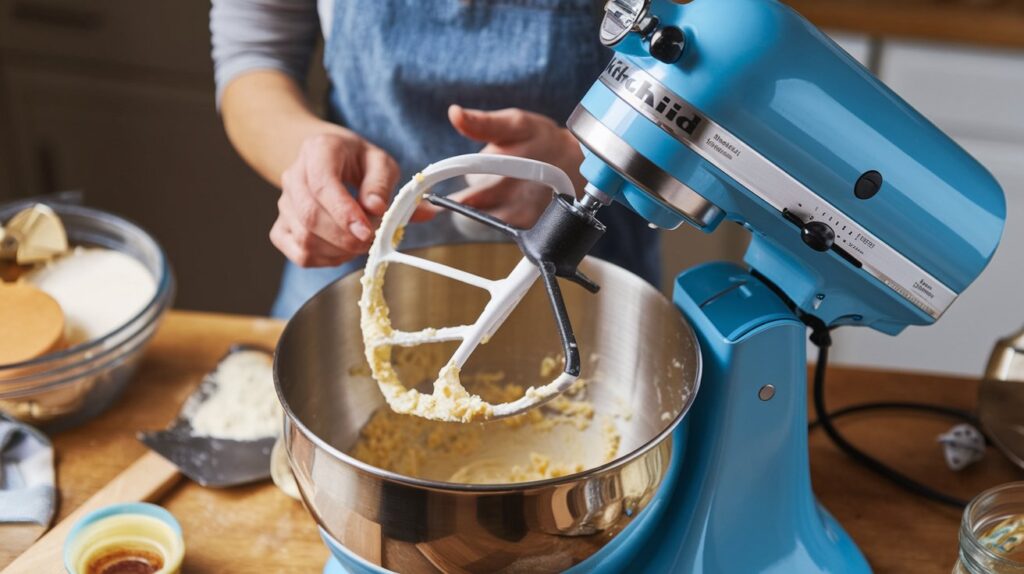
1. KitchenAid Stand Mixer: Mastery of Mix Art
For years, the KitchenAid stand mixer has been a regular resident of many kitchens for good reasons. With its strong motor and attachments that can be fitted, it becomes irreplaceable for any baker. Whether whisking up cookies, mixing bread dough, or whipping up cake, this does the job with consistent results every time.
Hint: Use the right attachment for the job
The one thing that I started doing was to learn what kind of attachment would be correct for the job. The flat beater will work best with a cake mix or with cookie dough, while the dough hook kneads the bread. Wire whip whips cream or egg whites. Time playing around with the attachments taught me how I will get more out of my stand mixer and even better results with each recipe.
Personal Experience:
I remember that Christmas when, in addition to the others, I had to make jumbo cookies for a holiday party. Definitely a job well beyond the capabilities of my old hand mixer, with my KitchenAid stand mixer I was able to do this in a breeze. Using it meant there was no risk of lumpy mixings; instead, the dough came out just right and thus baking became a lot more fun.
Tip: Start with the lowest speed and gradually increase it
The other thing I have learned the hard way is to make sure that you start out at a low speed when adding ingredients, especially dry ones like flour or powdered sugar. Once, I wanted to bake the cake as fast as possible, and turning the mixer on too fast to too high speed sent a cloud of flour across my kitchen! Now I simply turn it on at low speed and gradually increase it so that any other messes may be negated.
2. Getting Just the Right Dough with a KitchenAid Dough Hook
Bread baking is an art and requires patience and exactitude. Well, the KitchenAid stand mixer with an attached dough hook does take the hassle out of kneading and lets you make smooth elastic doughs without all that hard work.
Tip: Know when to stop the kneading
Over-kneading makes the bread tough and dense, while under-kneading makes it not rise as required. The dough hook strikes a perfect balance in this direction. Generally speaking, you want to be kneading around 8 to 10 minutes, depending on the recipe. This should be smooth, elastic, and a bit tacky.
Personal Experience:
I remember when I first made homemade pizza dough. It was always needed to be hand-kneaded before having a KitchenAid stand mixer, and there would always be spotty texture somewhere. Finally, when I got it, attached a dough hook to it, and voilà, things came pretty easy. The dough would be kneaded all to a uniform consistency, and every crust that came off of it was perfectly chewy.
Tip: Take the Windowpane Test
You can also be doing a windowpane test, just to be sure your dough is just properly kneaded. Just pinch off a small piece of dough and, with the use of your fingers, stretch out. If you can make that thin, almost transparent membrane without tearing, then that’s ok. This little trick that I learned from another fellow baker saved me many times from overworking dough.
3. Perfect Whipped Cream and Egg Whites with the Wire Whip Attachment
Whipping cream or egg whites until it reaches stiff peaks can be a disagreeable chore, as most who’ve done it by hand can attest. Take the guesswork out of this process with the wire whip attachment on your KitchenAid: perfectly whipping cream and egg whites each and every time.
Tip: Keep Your Bowl and Whisk Cold
From most of the advice I got from professional bakers, what has so far served me is to make sure that the mixing bowl and wire whisk are in the fridge for at least 15 minutes before you start whipping the cream. Really, a cold temperature favors whipping of cream because it enables it to whip faster and a more stable product. It is a little trick, but the difference it has done in my desserts, especially in making the whipped cream that I actually use as some form of topping on pie or cake, has been tremendous.
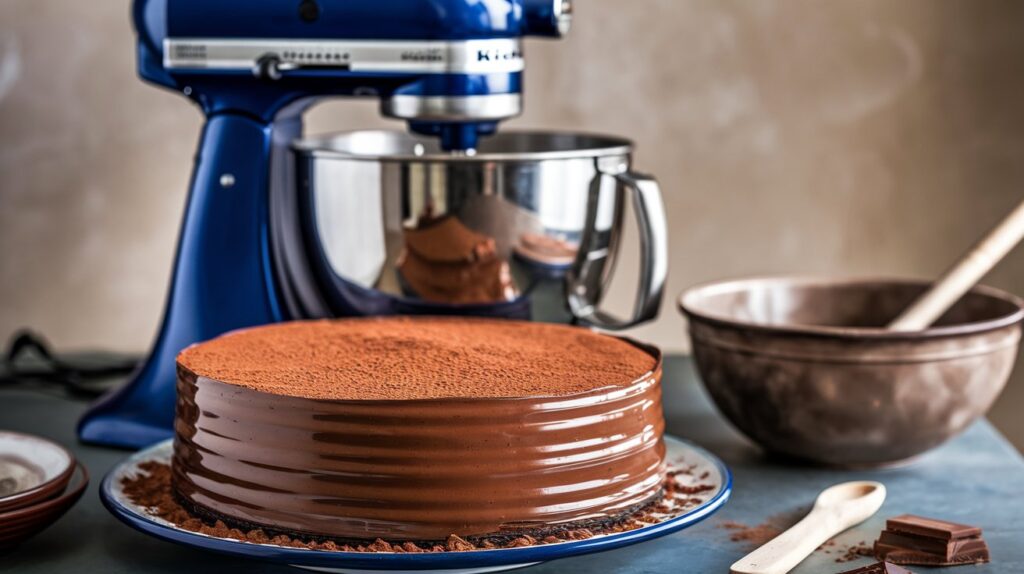
Personal Experience:
I once invited some of my friends over for dinner and wanted to make a course of dessert with chocolate mousse. I remember playing around with whipped cream consistency in some other desserts, and surely it is very easy to do so with the KitchenAid stand mixer. The mousse was so light and fluffy, and my guests commented on the great texture and taste.
Tip: Not to overwhip
While the stand mixer whips cream or egg whites in no time, one should pay attention that the process does not get out of hand. Overwhipping will give you butter instead of cream, or egg whites that cannot hold their structure. Stop mixing when the ingredients take on one of the following stages: for meringues, stiff peaks form and for whipped cream, soft peaks form.
4. Accurate Baking with KitchenAid Ovens
The best-mixed batter or dough will turn to ruin if it is baked incorrectly. The oven should provide even heat distribution and temperature accuracy that is so critical for achieving consistent baking results.
Tip: How to Preheat Your Oven Correctly
One of the worst mistakes I did as a beginning baker was taking too little time to preheat my oven. I had always thought a few minutes were OK, but that generally worked out to overcooked cakes or partly raw cookies. These days, I’ve learned patience with my KitchenAid oven means waiting until the preheat indicator says it’s ready. That way, the temperature is correct right from the very beginning when it counts toward the perfect bake.
Personal Experience:
I once baked some cupcakes for my friend’s birthday. I had put them in the oven in excitement before it was preheated to the right temperature. Some cupcakes were burnt while others were half-cooked. Since then, I had always waited until the oven is preheated and after that my baked stuff started to turn out much better.
Tip: Taking Advantage of the Right Bakeware
Results can also vary with the type of bakeware you use. I found that good-quality heavier pans aided even baking when I was using my KitchenAid oven. It’s just that dark metal pans had the tendency to absorb heat, sometimes leading to overbrowning of food. Their light-colored counterparts distributed the heat more evenly. Knowing that there are several types of bakeware out there helped me in adjusting baking times and temperatures for optimum results.
5. Maximize Your KitchenAid Food Processor in Baking Preparation
One thing is for sure: there’s always something to be prepared with baking-from chopped nuts down to grated chocolate, or even sliced fruits for pie recipes. The KitchenAid food processor was designed to perform tasks in double time for a flawless baking process.
Tip: Utilize the Pulse for Control
A very welcome addition to this KitchenAid food processor is its pulse function, offering even more control over chopping and mixing. While attempting to chop nuts or grate chocolate, it has kept over-processing at bay many times by pulsing the processor in short bursts so that I get the right consistency. It does so much while dealing with cake, cookie, and pie preparations.
Personal Experience:
I just hated having to manually chop nuts for my favorite chocolate chip cookie recipe. It was so tedious, and I never got them all pieces of the same size. Once I started using a KitchenAid food processor, it really cut my prep time in half and gave me much more uniform pieces. Now I get to work on the fun part of baking: mixing and decorating!
Applying the Tip: Keep Your Blades Sharp
As great as the food processor may be, with a dull blade fitted, results would always remain mediocre. If one could keep his KitchenAid blades sharp, that gives the best results. So I took my fate into my hands. I check on my blades from time to time and sharpen them if need be, and that has really improved the texture of the goods I bake.

6. Measurement Precision: KitchenAid Digital Scale
Few other underestimated variables that come into play when baking are measurement. Unlike cooking, where often one can adjust to taste, baking requires exact measurements to turn out with texture and flavor. For such precision in your baking, a KitchenAid digital scale will come in handy.
Tip: Weigh Your Ingredients
I used to use measuring cups and spoons alone, but after a few variable results, I did switch to weighing my ingredients on this KitchenAid digital scale. Weighing out flour, sugar, and other ingredients ensures that you’re using just the right amount called for in that recipe. This is highly important when you’re working with any kind of delicate pastry, like macarons or soufflés, where that tiniest deviation in measurement means success or disaster for the bake.
Personal Experience:
A long while back, I prepared a batch of macarons that came out flat and chewy instead of light and crispy. After a little research, it clicked-my measuring cups were wrong, and I used way too much flour. Then I went onto the digital scale, and that upgraded my game with the macarons. Since then, I have had quite a bit more success with these finicky desserts.
Tip: Tare Between Ingredients
The tare function resets this KitchenAid Digital Scale every time after adding each ingredient. More importantly, in instances of measuring ingredients within the same bowl, this feature saves your time by reducing the number of cleaning tools needed for measurement. I promise this feature has facilitated my baking process by making cleanup less cumbersome.
7. Whip Up Professional-Quality Desserts with KitchenAid Attachments
But arguably the coolest thing about KitchenAid mixers, though, is the fact that there are attachments you can buy to extend your baking repertoire-from pasta rollers to ice cream makers, it opens new possibilities for creating professional desserts right at home.
Tip: Finding New Recipes with Attachments
Comfortable with the basics, I began to try some of the more complicated recipes by attempting the various attachments available with the KitchenAid mixer. They have allowed me to do such things as making fresh pasta for the first time with the attachment for a pasta roller, homemade ice cream on the attachment for an ice cream maker that goes along with my baked goods. These attachments gave a whole new creative edge to my baking, and I was finally able to play with combinations in flavor and texture.
Personal experience:
This summer, I baked a lemon tart and made some homemade raspberry sorbet for the topping. But with the help of a KitchenAid stand mixer for the crust of the tart, along with sorbet with an attachment for an ice cream maker, I was impressing my family and friends with such a refreshing dessert. Really, it wasn’t that hard; for the ease of use in the KitchenAid Attachments saved the day of versatility.
Tip: Invest in quality attachments, not just any that is available. With all the attachments that one can get for the KitchenAid appliances, one may get overboard, but quality shall always outshine quantity. Get first the most used attachments, like a pasta roller or an ice cream maker; then build up to others if the need arises. That way, I know exactly how to get the best from my KitchenAid without drowning my kitchen in gadgets that I rarely need.
8. Finish with Finesse-Perfect Your Decorating Skills with KitchenAid Hand Tools
Finally, baked goods are enhanced once ready. A final touch is to decorate them to make them look as good as they taste. KitchenAid has a line of various hand tools ranging from spatulas, piping bags, and pastry brushes that make decorating easier and more accurate.
Tip: Use a piping bag for professional-looking decoration.
But I could just never seem to get that clean, professional look once it was time to decorate cakes or even cupcakes. It wasn’t until I got a good piping bag and nozzles that I could actually do more precise, attractive decorations. This set of KitchenAid piping bags has grown into one of the leading tools in my arsenal when adding the finishing touches to baked goods.
I once baked some cupcakes for my daughter’s birthday and tried for the first time to decorate them with buttercream flowers. Using the KitchenAid piping bag, I could pipe out small and delicate flowers that made my cupcakes look bakery ones. She was excited, and I was proud of myself, too.
Tip: Keep Your Tools Organized
Few things that can be done indoors could require more tools than baking: from mixing bowls to spatulas and decorating tips. The key to my success in the kitchen, however, is making sure everything has its place. I have dedicated one drawer to my KitchenAid hand tools; therefore, getting to what I might need is relatively easy. This ultimately allowed me to streamline my baking process, reducing stress in creating even the most elaborate recipes.

Conclusion
Baking is as much a science as it is an art; having the right tools makes all the difference. Be it a baker who has just started or someone well-experienced, precision, versatility, and great ease of use come into play with KitchenAid. In providing this, I sincerely hope that with my personal experience, I can help you unleash your fullest potential with your KitchenAid appliances and expand your baking into new horizons.
Keep in mind that baking is one big learning process, and every mistake signals the start of some learning. With the right ingredient set and just a pinch of patience, you’ll be able to create amazing, professional-sounding baked goods that will amaze your family and friends. Happy baking!